


Introduction
In the world of process instrumentation, the instrument hookup drawing is one of the most critical deliverables.
It bridges the gap between design and construction, ensuring that technicians on the ground correctly install transmitters, manifolds, mounting supports, and wiring. Without a clear hookup design, you risk installation, safety hazards, or maintenance nightmares later.
In this article, I’ll walk you through the philosophy, best practices, and steps for creating a robust instrument hook-up—drawing from real engineering experiences.
What Is an Instrument Hookup?
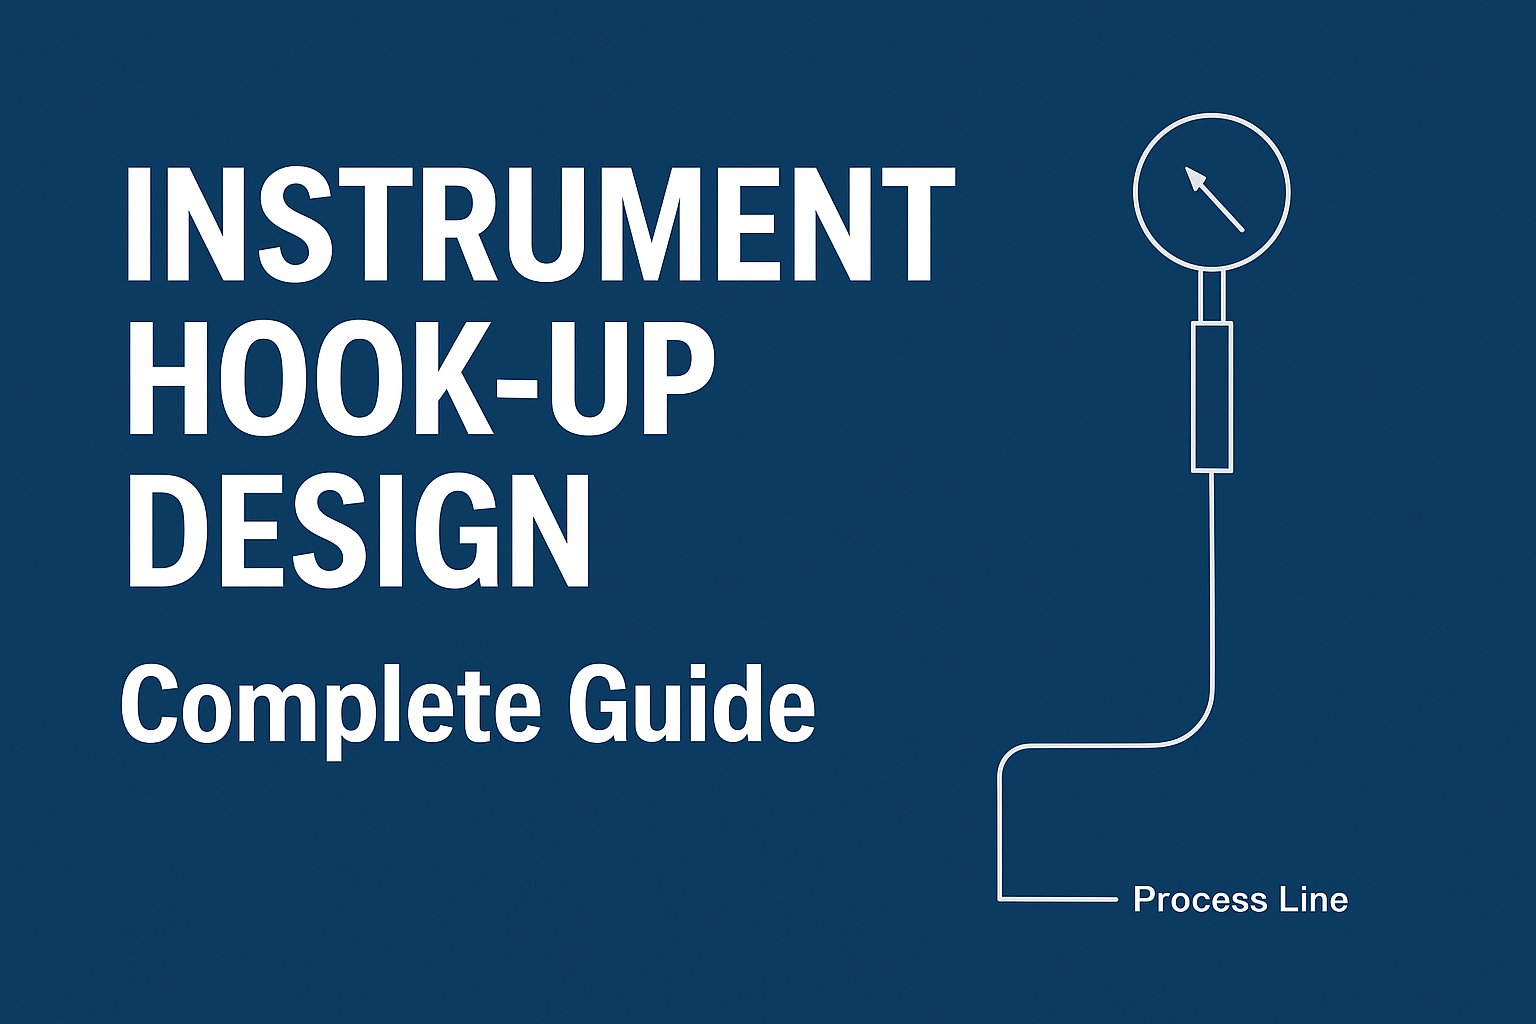
An instrument hook-up is a detailed installation diagram used to show how an instrument is to be installed in the field.
It includes:
- Mounting arrangement (stand, bracket, plate)
- Tubing/impulse line connections
- Electrical wiring and cable entry details
- Manifolds, valves, and accessories
- Material Take-Off (MTO) list
In simple terms, it is the construction guide for technicians.
Documents Required for Hook-Up Design
Before designing any hook-up, collect the following engineering documents:
1. P&ID (Process & Instrumentation Diagram)
Helps identify:
- Tag numbers
- Tapping points
- Process fluid (gas/steam/water/hydrocarbon)
- Instrument type (PT, TT, LT, CV)
2. Instrument Index
Provides:
- Instrument model
- Type (AI, AO, DI, DO, pneumatic, HART, FF)
- Hazardous area class
- Calibration range
3. Instrument Data Sheet
Critical for:
- Mounting requirements
- Connection size (½”, ¼”)
- Material (SS316)
- Maximum operating temperature/pressure
4. Piping / Line Isometrics
Helps you determine:
- Exact tapping point
- Root valve location
- Impulse line routing
5. Electrical Load Schedule (for powered instruments)
Used for:
- Power supply requirements
- Cable termination details
Types of Instrument Hookup
A. Wiring Hook-Up
Used for instruments requiring electrical power or signal wiring.
Includes:
- Cable entry orientation
- Gland type (Exd/Exe)
- Junction box wiring
- Earthing and shielding
B. Tubing (Impulse) Hook-Up
Used for DP transmitters, pressure transmitters, and pneumatic devices.
Includes:
- Root valves
- 3-valve / 5-valve manifold
- Tubing & fittings
- Air-set or FRL unit (for pneumatic valves)
- Condensate pots (for steam service)
C. Mounting Hook-Up
Shows physical installation of the instrument.
Includes:
- 2-inch pipe stands
- Wall brackets
- Mounting plates
- Support clamps and U-bolts
Each hook-up has a dedicated Material Take-Off (MTO).
Hook-Up Design Philosophy (Best Practice)
1. Accessibility
Technicians must be able to reach manifolds, valves, and transmitter for calibration and maintenance.
2. Maintainability
Sufficient working space should be available for removal and servicing.
3. Safety
Avoid locating instruments near:
- Hot surfaces
- Rotating equipment
- High-pressure leakage points
- Electrical panels
4. Consistency
Use standard company design guidelines:
Shell DEP, ADNOC ES, Aramco SAES, Total, Chevron, ExxonMobil etc.
5. Electrical & Tubing Separation
Routing must prevent interference and improve safety.
Step-by-Step Procedure to Design a Hook-Up
Step 1: Identify the Instrument Type
Refer to the P&ID and Instrument Index to confirm:
- Whether the instrument is pressure, temperature, flow, level, or control
- Signal type (pneumatic/electrical)
- Mounting requirements
Step 2: Select the Correct Hook-Up Typical
Most companies provide standard hook-ups.
Examples:
- Pressure transmitter (direct mount)
- DP transmitter with 3-valve manifold
- Temperature element in thermowell
- Air-set unit for control valve
If no typical exists, you create a new one.
Step 3: Draw the Process Connection
Show the tapping point and root valve configuration.
Example:
Take-off from 2” pipeline with ½” NPT tapping + SS316 isolation ball valve.
Step 4: Add Manifolds / Accessories
Depending on the instrument type:
For DP Transmitter
- Two root valves
- Filter
- Condensing pot (if steam service)
- 3-valve or 5-valve manifold
For Pneumatic Valve
- Air-set (Filter + Regulator)
- Pressure gauge
- Tubing and fittings
Step 5: Mounting Arrangement
Define the mounting method:
- Pipe stand (2-inch)
- Bracket or plate
- U-bolts and clamps
- Orientation of transmitter
Step 6: Cable Entry & Earthing
Include for electrical instruments:
- Cable size and type
- Cable gland type
- Earthing stud
- Junction box connections
Step 7: Prepare MTO (Material Take-Off)
List all components required for construction:
- Valves, manifolds, fittings
- Tubing, supports, brackets
- Glands, cables, junction box
- Mounting hardware
Practical Examples of Common Hook-Ups
1. DP Transmitter for Flow Measurement
Includes:
- 2 root valves
- 3V/5V manifold
- SS316 tubing
- Condensate pot (Only for steam)
- 2” pipe stand with bracket
2. Temperature Element Installed in Thermowell
Includes:
- Thermowell
- RTD/TC head
- Weatherproof/Flameproof terminal head
- Cable gland
3. Pneumatic Control Valve
Includes:
- Air-set (FRL)
- Tubing (¼” OD SS316)
- Gauge
- Tubing fittings
- Mounting bracket
- Instrument air Manifold
Conclusion
Instrument hookup drawings ensure that field installations are safe, consistent, and maintainable. A well-prepared hook-up reduces site errors, improves commissioning timelines, and ensures that instruments perform as designed.
By understanding the required documents, types of hook-ups, design philosophy, and a structured workflow, you can create professional hook-up drawings suitable for any process industry — whether oil & gas, chemical, power, or refinery.
If you have any Suggestions pls let me know
if you want to write an article on the website, please contact us by this mail id: contact@worldofinstrumentation.com
If you like this article, and if you want to know about instrument cable sizing. Check out my previous article.
And you can also follow our LinkedIn group which is specially made for sharing information related to Industrial Automation and Instrumentation.


Instrumentation & Control Design Engineer with 4+ years of hands-on experience in EPC, FEED, and detailed engineering projects across Oil & Gas, Petroleum Refineries, and Petrochemicals. Executing full-cycle engineering from FEED through commissioning on major international projects.
Expertise in control valve & orifice sizing, thermowell wake frequency calculations, P&ID review, cause & effect analysis, loop drawings, and datasheet preparation — managing 1,000+ I/O instrument indices across brownfield and greenfield projects.
“Founder of World of Instrumentation — translating real field and engineering office experience into practical guides, tools, and resources for instrumentation professionals worldwide.”